Installing Dragora, a GNU/Linux Distro
While browsing the web, I happened to fall upon the website of dragora.org. Which I found to be interesting, and since I had not installed some obscure Linux distributions ever. So, I decided I would try and install this on my old laptop.
I decided on installing the 3.0-amd64-beta2 iso, the latest version at the time of writing. Thankfully, the installation has been made simpler with the new dragora-installer, instead of the old setup. I did encounter some hiccups during the installation, partially because I have no experience, but also that all the things one might be interested in doing, are listed as TODO in the wiki. I have found the OS itself to be pretty good, while the default web browser does lack a little, it felt a lot more responsive than I expected.
The setup guide for the 2.0 version of the OS, can be found on the web archive, which are now not available on the official website as of yet since the redesign. They are useful. Also, a YouTube video regarding the installation was of huge help.
Partitioning
You can scroll in the terminal by using the
PgUpandPgDnkeys, and if not available, then useFn+WIN+UP/WIN+UPorFn+WIN+DOWN/WIN+DOWN.
Still, I had some problems which I plan on maybe informing about someone here.
On booting you are greeted with the boot menu, choose the Install Dragora option with arrow keys. This will put you into a Linux environment from where it will automatically start the dragora-installer, after making you choose some mouse and keyboard setting.
If you have yet to make the partitions, exit out of the dragora-installer by using CTRL+C. Here you can, if you want, go into the UI by typing startx. But if you want to install this on the disk, then one has to create partitions.
Type cfdisk to open the cfdisk menu, choose the gpt table. After, you will be able to see the disk you have in the system. Here we will create two partitions, one Linux filesystem, and second a swap file for the OS.
Choose new on the empty space, choose the size by subtracting at least a gigabyte (or more) of storage for the swap file. It should have automatically assigned Linux filesystem to the new partition. Again, choose new on the free space, allocate the storage then on the menu page using the right/left arrow keys shift the selected option to type. There choose Linux Swap.
Now go to each partition and choose write to save the changes and done. If you mess up something and come back to this step, you can delete every partition and start again. and finally, quit.
However, there is one thing we need to do, make the Linux filesystem to a bootable segment.
Using fdisk on the mounted disk. Enter the expert mode by typing x, then A to make a partition BOOTABLE, then choose the partition (1 or 2) in my case 1. Return to the menu by pressing r and quit and write by using w.
Now we are done with partitioning, now start up the dragora-installer using the command with same name.
dragora-installer
Read the Dialog carefully for the instructions. After pressing yes, a couple of times, you will be met with choosing the packages option, if you have some custom packages, select them here, otherwise choose Local and mounted directory, and add /var/cache/qi/ into the dialog.
Then it will ask you to choose the swap file, if you partitioned correctly your swap file should appear here. Format it. Then establish the Linux filesystem as an ext3.
Choose ext3 otherwise grub shows an error! (a bug.)
Format again, choose the mount point as / and choose done.
It will show you a summary. Choose the packages as needed (choose all if you do not care) and continue. Now wait for the installation, this will take up to 20-30 mins.
Grub Setup
After the installation of packages, enter a password to your wishes. Then continue to grub setup. Choose either. Finally, choose processes to start at startup, and reboot.
If you still see the Install Dragora, go to your BIOS settings and change the boot order. Also eject the installation media.
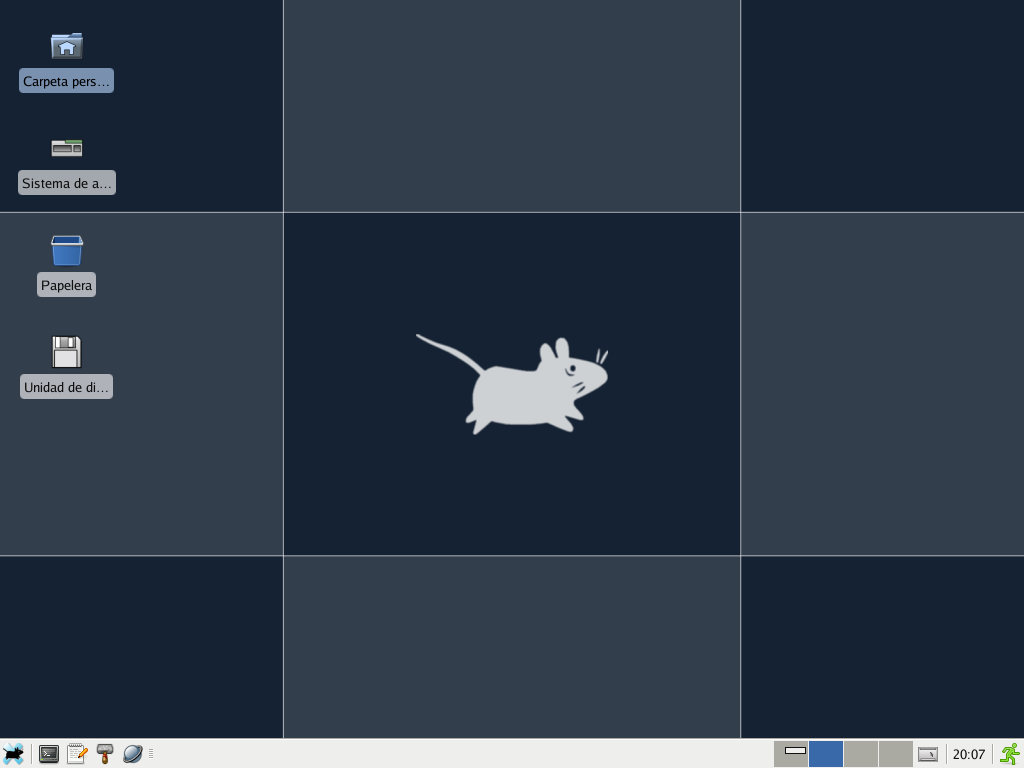
Congratulations! Dragora 3.0 beta 2 is now installed! On startup login as root with your password, and to start the default GUI, type startx.
Proceed through the setup, and done!